192.168.1.3 – How to Login to 192.168.1.3

How to Login to 192.168.1.3. 192.168.1.3 is a private IP address commonly used as the default gateway to access a router’s admin panel via http://192.168.1.3/. This admin panel is a crucial web interface where all the router’s settings can be managed. Various router brands, including NETGEAR and ZyXEL, often use 192.168.1.3 as their default IP address. Through this panel, you can easily modify your Wi-Fi network name (SSID), password, and other configurations related to both your wireless network and the router itself.
Read Also: LPB PISO WIFI
What is 192.168.1.3?
192.168.1.3 is a private IP address commonly assigned as a default gateway address for some routers. A gateway IP is essentially the address you use to access the admin interface or control panel of your router. It allows you to change and manage network settings.
This IP address is part of the IPv4 address range set aside for private networks (192.168.x.x). These addresses are not routable on the internet and are only used within local networks like homes, schools, or offices.
Manufacturers like NETGEAR, ZyXEL, and some others use 192.168.1.3 as the default IP address to let users access their routers’ admin panels. However, many routers use other common IPs like 192.168.1.1 or 192.168.0.1 depending on brand and model.
Why is 192.168.1.3 Important?
The router’s admin panel is the nerve center of your network. By logging into the panel via 192.168.1.3, you can:
- Change your Wi-Fi network name (SSID)
- Update your Wi-Fi password
- Set up security protocols such as WPA3 or WPA2 encryption
- Configure guest networks
- Manage connected devices and parental controls
- Update firmware to improve router performance and security
- Customize settings like port forwarding and firewall rules
Without access to this admin panel, you wouldn’t be able to customize your network or troubleshoot connectivity issues effectively.
How to Login to 192.168.1.3?
To manage your router settings, you need to access its admin panel by logging in at 192.168.1.3. Follow these steps:
Step 1: Connect Your Device to the Router
Make sure your computer or smartphone is connected to the router, either via Wi-Fi or through an Ethernet cable plugged into one of the router’s LAN ports. Without being connected to the router, you won’t be able to reach the admin panel.
Step 2: Open a Web Browser
Launch your preferred web browser such as Chrome, Firefox, Safari, or Edge.
Step 3: Enter the IP Address
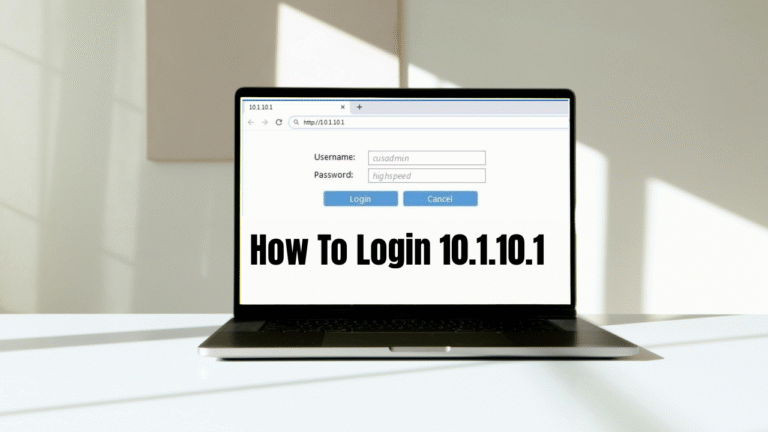
In the browser’s address bar (not the search bar), type http://192.168.1.3/ and press Enter.
Important Note: Make sure you type the address correctly. Avoid typos such as 192.168.l.3 (letter “L” instead of number “1”), and do not use https:// unless your router explicitly supports secure login over HTTPS.
Step 4: Enter Login Credentials
Once you enter the correct IP, you will be redirected to the router’s login page. Here, you need to enter the username and password to proceed.
Step 5: Locate Default Username and Password
If you haven’t changed these before, the default credentials are often printed on a sticker attached to your router—usually at the back or bottom. They may also be printed on the router box or included in the manual.
Common default usernames include:
- admin
- user
Common default passwords include:
- admin
- password
- 1234
If you don’t find them, you can check online lists of default router usernames and passwords based on your router brand and model.
Step 6: Login and Access the Admin Panel
After entering the correct username and password, click on the login or submit button. If successful, you will be taken to the router’s admin panel where you can make changes.
Troubleshooting Login Issues
- Incorrect IP Address: If 192.168.1.3 does not work, check your router’s manual or the default gateway IP assigned to your device. You can find this by running the following command on your PC:
- Windows: Open Command Prompt and type
ipconfigthen look for “Default Gateway.” - Mac/Linux: Open Terminal and type
netstat -nr | grep defaultorip route | grep default.
- Windows: Open Command Prompt and type
- Wrong Credentials: If default username and password don’t work, it may have been changed. You can try resetting your router to factory settings by pressing the reset button (usually a pinhole on the back) for 10-30 seconds. Be warned: this will erase all your custom settings.
- Connection Issues: Ensure your device is properly connected to the router, either wired or wireless.
How to Change Your Wi-Fi Network Name (SSID) and Password Using 192.168.1.3?
One of the most common reasons to log in to the router admin panel is to update your Wi-Fi name and password. Here’s how to do it:
Step 1: Log in to the Router Admin Panel
Follow the login steps outlined above to reach your router’s admin panel.
Step 2: Locate the Wireless Settings Section
Once inside the admin panel, look for a menu or tab labeled Wireless, Wi-Fi Settings, Wireless Settings, or Network Settings. This section controls your wireless network configurations.
Step 3: Change the Wi-Fi Network Name (SSID)
Find the field labeled SSID, Network Name, or Wi-Fi Name. Enter your desired new Wi-Fi network name. This is the name that will appear in the list of available networks on your devices.
Step 4: Change the Wi-Fi Password
Look for the Password, Passphrase, or Security Key field. Enter a new strong password to secure your network. Use a combination of letters, numbers, and special characters for better security.
Step 5: Save the Changes
Click Save, Apply, or a similar button to update the settings.
Step 6: Reboot the Router (if needed)
Some routers automatically reboot after changes; others may require you to manually restart the router. This process applies the new network name and password.
Step 7: Reconnect Your Devices
After changing the SSID or password, your devices will disconnect because the Wi-Fi credentials have changed. You will need to reconnect them to the network using the new network name and password.
Tips for Managing Your Router Using 192.168.1.3
- Change Default Login Credentials: Always change the router’s default admin username and password to prevent unauthorized access.
- Use Strong Wi-Fi Passwords: Protect your network by using a strong, unique password.
- Keep Firmware Updated: Check for firmware updates regularly through the admin panel to improve security and performance.
- Backup Settings: Before making major changes, backup your router configuration if the option is available.
- Secure Remote Access: If your router supports remote management, disable it unless you need it, to prevent external threats.
- Limit Device Access: Use MAC address filtering or parental controls to restrict unauthorized devices.
Conclusion
The IP address 192.168.1.3 serves as a gateway to access your router’s admin panel, allowing you to manage crucial network settings such as your Wi-Fi name (SSID) and password. By connecting your device to the router and navigating to http://192.168.1.3/ in a web browser, you can log in using your router’s username and password.
Once logged in, you can easily update your Wi-Fi network name and password through the wireless settings section, enhancing your network’s security and personalization. Remember to save the changes and reconnect your devices to the updated network.