How to Login to 192.168.0.2 – Router Admin Settings Access Guide

How to Login to 192.168.0.2 . 192.168.0.2 is a private IP address categorized under Class B of private IP ranges. It is commonly used to access the administrative interface of network routers. Many router manufacturers, such as D-Link and NETGEAR, pre-configure this IP as the default gateway for router settings. The router web-based admin panel is a crucial interface that allows users to manage core settings for both the wireless router and the Wi-Fi network. From this interface, you can change your Wi-Fi network’s SSID, update the Wi-Fi password, modify the admin login credentials, and configure other important network settings
Read Also: LPB PISO WIFI
What is 192.168.0.2?
192.168.0.2 is a private IP address that belongs to the Class B range of private IPs. It’s commonly used as the default IP address for accessing the admin dashboard of home or business routers—especially models from D-Link and NETGEAR.
This IP address is pre-set by router manufacturers and allows users to enter the router admin interface. From this panel, users can manage essential router and network settings, such as:
- Changing the Wi-Fi Network Name (SSID)
- Updating the Wi-Fi Password
- Modifying the router admin login credentials
- Configuring security protocols, and more.
How to Login to 192.168.0.2?
- Launch a web browser on your computer (such as Google Chrome or Mozilla Firefox).
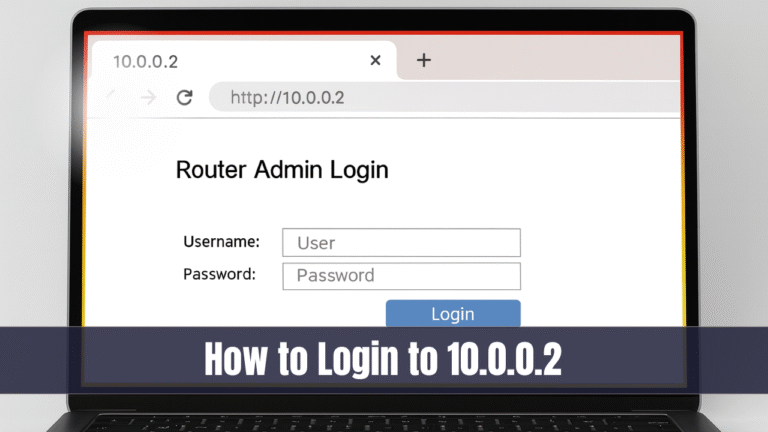
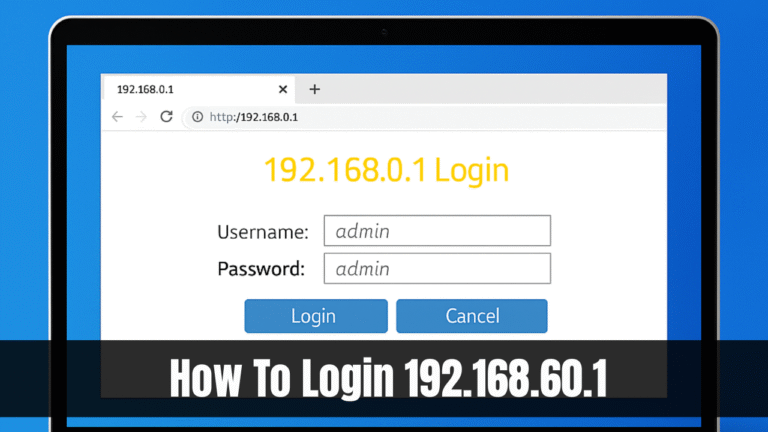
In a new tab, enterhttp://192.168.0.2/in the address bar and press Enter. - This will take you to your router’s login page, where you’ll be prompted to enter a username and password.
- The default login credentials are usually printed on a label found on the router’s packaging or on the back or underside of the device itself. Use these details to log in.
- Once entered, you’ll gain access to the router’s admin interface.
Accessing this page is simple you just need to ensure your computer is connected to the router, either via an Ethernet cable or a Wi-Fi connection, and that you’re using the correct default gateway IP address. Without the correct IP, you won’t be able to reach the admin dashboard.
How to Change WiFi Name (SSID) and Password Using 192.168.0.2
Once inside the admin panel, you can update your Wi-Fi settings to improve network security and customize your wireless network.
Change WiFi Network Name (SSID):
- Log in via
http://192.168.0.2 - Navigate to the Wireless Settings section.
- Locate the SSID or Network Name field.
- Enter your desired Wi-Fi name.
- Click Save or Apply.
- Your router will reboot, and the new SSID will take effect.
Change WiFi Password
- Go to Home > Wireless > Security/Encryption Settings.
- Look for the WiFi Password or Passphrase field.
- Enter a strong new password.
- Use a combination of uppercase, lowercase, numbers, and symbols
- Ensure the encryption method is WPA2 or WPA3 for maximum security.
- Click Save/Apply.
- After reboot, your devices must reconnect using the new password.
Benefits of Using 192.168.0.2 Router Login
- Customize your Wi-Fi experience
- Enhance network security
- Monitor connected devices
- Control bandwidth or set parental controls
- Upgrade firmware for better performance
Conclusion
Accessing your router settings via 192.168.0.2 gives you complete control over your network. Whether you want to secure your Wi-Fi, change your SSID, or update your router password, this private IP provides the gateway to all administrative functions.
If you’re using a router from D-Link, NETGEAR, or other manufacturers that assign 192.168.0.2 as the default IP, take a few minutes to explore your settings and optimize your network.